
How to Add and Install Develop Presets in Lightroom Find Away Photography
Keep one finger tapped on the image and adjust the slider with the other one While you’re keeping the photo tapped and drag the slider, Lightroom hides all other sliders and displays the intensity at the top of the screen. Also, zoom in on your main subject before adjusting this or any sharpness slider. That helps a lot.

How to Unblur in Photoshop Using Adobe Photoshop Photoshop help
Step 5. In the Smart Sharpen window, it offers three unblur choices: Gaussian Blur, Lens Blur and Motion Blur. Choose a suitable one and set Amount value and Radius value. Step 6. When you are done, press the OK button to unblur the image. Step 7. Click on File and choose Save for Web to save the unblurred image.

How to Unblur a Photo or Image Excellent Tools to Fix Blurry Pictures
Below is a step-by-step guide on how to unblur an image using VSCO. Import the image you wish to unblur into VSCO. Turn to Studio view and select the slider icon. Next, at the bottom of the screen, tap the upward arrow. This will enable the tools options for editing. From the tools, select the Sharpen tool and adjust the sharpness of the image.
How do you unblur pictures on Adobe Photoshop Quick Guide
Adobe Photoshop Lightroom helps you take those images to the next level with more settings and tools to deblur, refine and focus. Detail panel: Find the detail panel in the “develop” module and choose what you’d like to deblur. Zoom in on your image to make sure you’re sharpening in the exact right places.

Top 10 Tools to Unblur Photos Online Lightroom List of jobs Photo
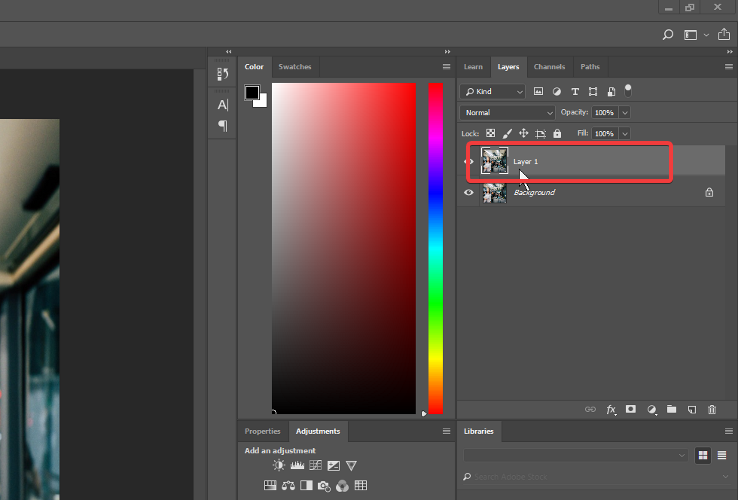
To apply blurred background in Lightroom, you essentially need to make a layer mask around the focal point of your image. When you’ve done it, you can apply the blurred mask to the marked area which will achieve the desired effect. However, the process requires a few steps. Do the following:

How to Blur Background in Lightroom 3 Different Methods Pretty
To unblur images with Lightroom, download Lightroom on your mobile and launch it. After this, import the picture you wish to work on. Once the image is imported, click on the “Detail” option from the bottom of the screen, and once its options are revealed, go to “Sharpening.” Step 2 Slide to adjust
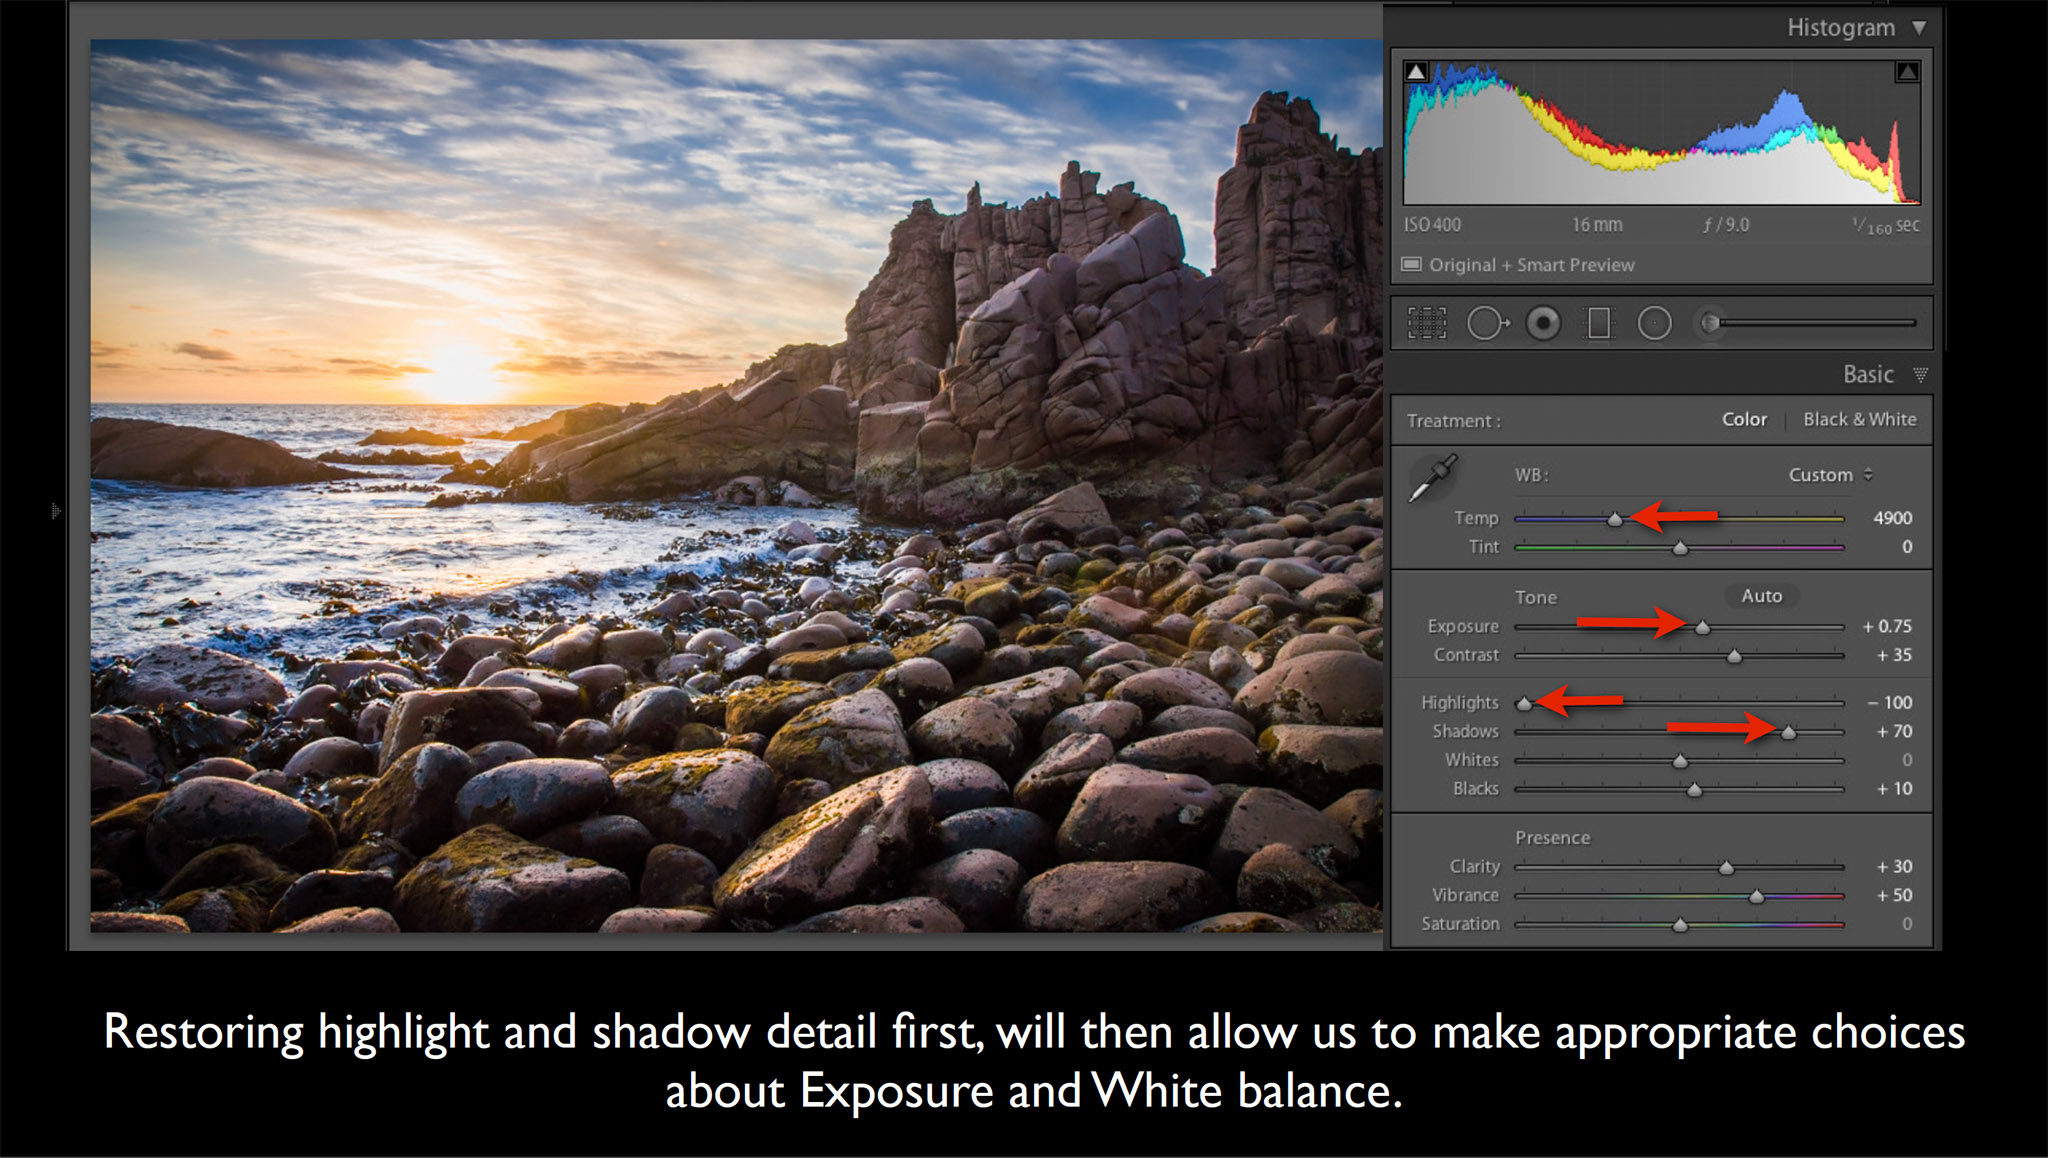
Post Production An Introduction to Developing in Lightroom Mark Galer
The best way to fix blurry photographs is to avoid the blur in the first place. This isn’t always possible but there are a lot of things you can do. For example, matching the shutter speed to the focal length of the lens. Using a shutter speed to match your subject if it’s moving. Using a support (properly).

10 Basic Photography Composition Rules That Beginners Should Know
When using the clarity tool to fix blurry photos in Lightroom, apply caution. Overusing this tool can lead to unrealistic harsh edges in a picture when you finally print it out. Method 3: Using Adjustment Brush This brush is also quite essential to fix blurry photos in Lightroom.

How to Unblur an Image Fix Blurred Photo in Just a Click
Open the Detail panel Open Detail panel on the right side of your workspace. If you don’t see the panel, click Detail to open it. You’ll use the settings in this panel to sharpen and clarify details in your photo. Adjust sharpening settings Locate the Sharpening section in the Detail panel.

The Ultimate Beginners Guide to Lightroom Step by Step Tutorial
In Lightroom, you can find the image sharpening adjustment in the detail panel. All you have to do is move the sliders to adjust the level of sharpness and deblur the image. Since deblur is so easy to use in most photo editors, it gives photographers the freedom to shoot without worrying about the focus being perfect every time.

How to edit photos in Lightroom for beginners YouTube
Steps on how to unblur a photo on iPhone with the Photos app: Open your Photos app and select the blurry picture that you’d want to unblur Next, move the control slider to the right to enhance the sharpness of your photo Then tap on “Edit” and then swipe-right on the toolbar on the editing page to select “Sharpness”
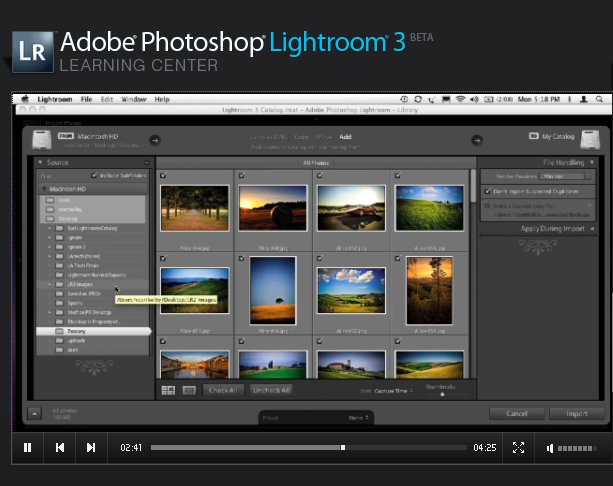
Adobe Photoshop Lightroom 3 Beta Version sonyalpharumors
Download and open the adobe lightroom app on your iPhone and tap the gallery icon to import blurred photos. Swipe right on the toolbar and tap on Details. Adjust different factors such as sharpening, radius, detail, and masking controls to enhance the photo. Finally, click Upload to save the image. Snapseed

How to Unblur an Image Photo in 7 Ways REGENDUS
Adobe Lightroom: Best Photo organizer. Adobe Lightroom is also a cloud-based photo management software, which allows you to organize, edit, share and store all your photos across different devices. Initially, you will get 1TB of cloud storage for free, which is enough for small businesses and individuals. After that, you can upgrade the plan.

How to Unblur an Image or Photo 7 Working Methods Tech Untouch
Step One: Import Your Image: To import your image, open up Lightroom and click “Import” on the bottom left. From here, the easiest way to upload the image is to simply drag and drop the file into the center of the screen. Click “Import”—it’s on the bottom right this time, just to be tricky. Now that you’ve imported the image you.

How to Unblur a Photo or Image 3 Methods
To get the exact picture of where the masking slider will be applied, hold down the Option key (Mac) or Alt key (Windows). The masked areas will appear black or dark grey, whereas the sharpened areas will appear white and light grey. Noise Reduction The noise reduction feature is present right below the sharpness sliders.

How to Unblur an Image working tricks
First, open Lightroom and decide which photo you’re going to blur. After selecting the photo, press D to switch to the Develop Module. Then, click on the Adjustment Brush, which is located on the top right side of the screen (it looks like a large horizontal brush). Just below the Adjustment Brush, you should see a dialog box appear with a.